
How to Organise Your Baking Storage: Keep Ingredients, Tools & Bakeware Tidy in a Small Kitchen
Baking in a small kitchen can be a joy, until you open a cupboard and flour falls out, the whisk has disappeared again, and the baking powder expired months ago. Limited space often means every shelf, drawer and worktop needs to work harder.
Good baking storage is not simply about making things look tidy. It helps solve common problems such as cluttered cupboards, lost tools, stale ingredients and a lack of usable space. When everything has a proper place, baking becomes quicker, easier and far more enjoyable.
An organised baking area can also help reduce waste, save money and make preparing recipes less stressful. Whether you bake every weekend or only for special occasions, a smart storage system can make a huge difference.
Start with a Full Declutter
Before buying containers or rearranging shelves, begin with a proper clear-out.
Remove What You Don’t Use
Many kitchens are full of baking items that rarely get touched. Go through every cupboard, drawer and shelf, and be honest about what you actually use.
Look out for:
- Old gadgets collecting dust
- Duplicate tools such as extra spatulas or measuring spoons
- Damaged cake tins or warped trays
- Items that no longer suit your baking habits
If you have not used something in years, it may be time to donate, recycle or dispose of it.
Check Ingredients
Small kitchens cannot afford to waste space on ingredients that are no longer usable.
Check dates on:
- Flour
- Baking powder
- Bicarbonate of soda
- Yeast
- Cocoa powder
- Nuts
- Spices
- Cake decorations
Also look for half-used packets that can be combined into one container or replaced altogether.
Clean Before Reorganising
Once everything is out, give the space a proper clean.
- Wipe shelves and drawers
- Vacuum crumbs from corners
- Wash storage jars and tubs
- Dry surfaces fully before restocking
Starting with a clean space makes it much easier to stay organised.
Group Baking Items by Category
The easiest way to keep baking storage tidy is to group similar items together. This means you always know where to look.
Ingredients
Keep dry goods and baking ingredients in one area where possible.
Examples include:
- Flour
- Sugar
- Brown sugar
- Cocoa
- Chocolate chips
- Nuts
- Vanilla extract
- Food colouring
- Sprinkles
- Icing sugar
Tools
Store hand tools together so you can grab them quickly.
Examples include:
- Measuring cups
- Measuring spoons
- Kitchen scales
- Spatulas
- Whisks
- Rolling pin
- Pastry brushes
- Piping bags
Bakeware
Keep larger baking equipment in one dedicated section.
Examples include:
- Cake tins
- Loaf tins
- Muffin trays
- Roasting tins
- Cooling racks
- Baking sheets
Occasional Items
Some items are only used once or twice a year. These should be stored separately so they do not get in the way.
Examples include:
- Christmas cutters
- Celebration cake stands
- Easter moulds
- Novelty tins
- Seasonal decorations
Use Smart Storage Containers
The right storage containers can instantly make a small kitchen feel bigger and more efficient.
Clear Airtight Containers
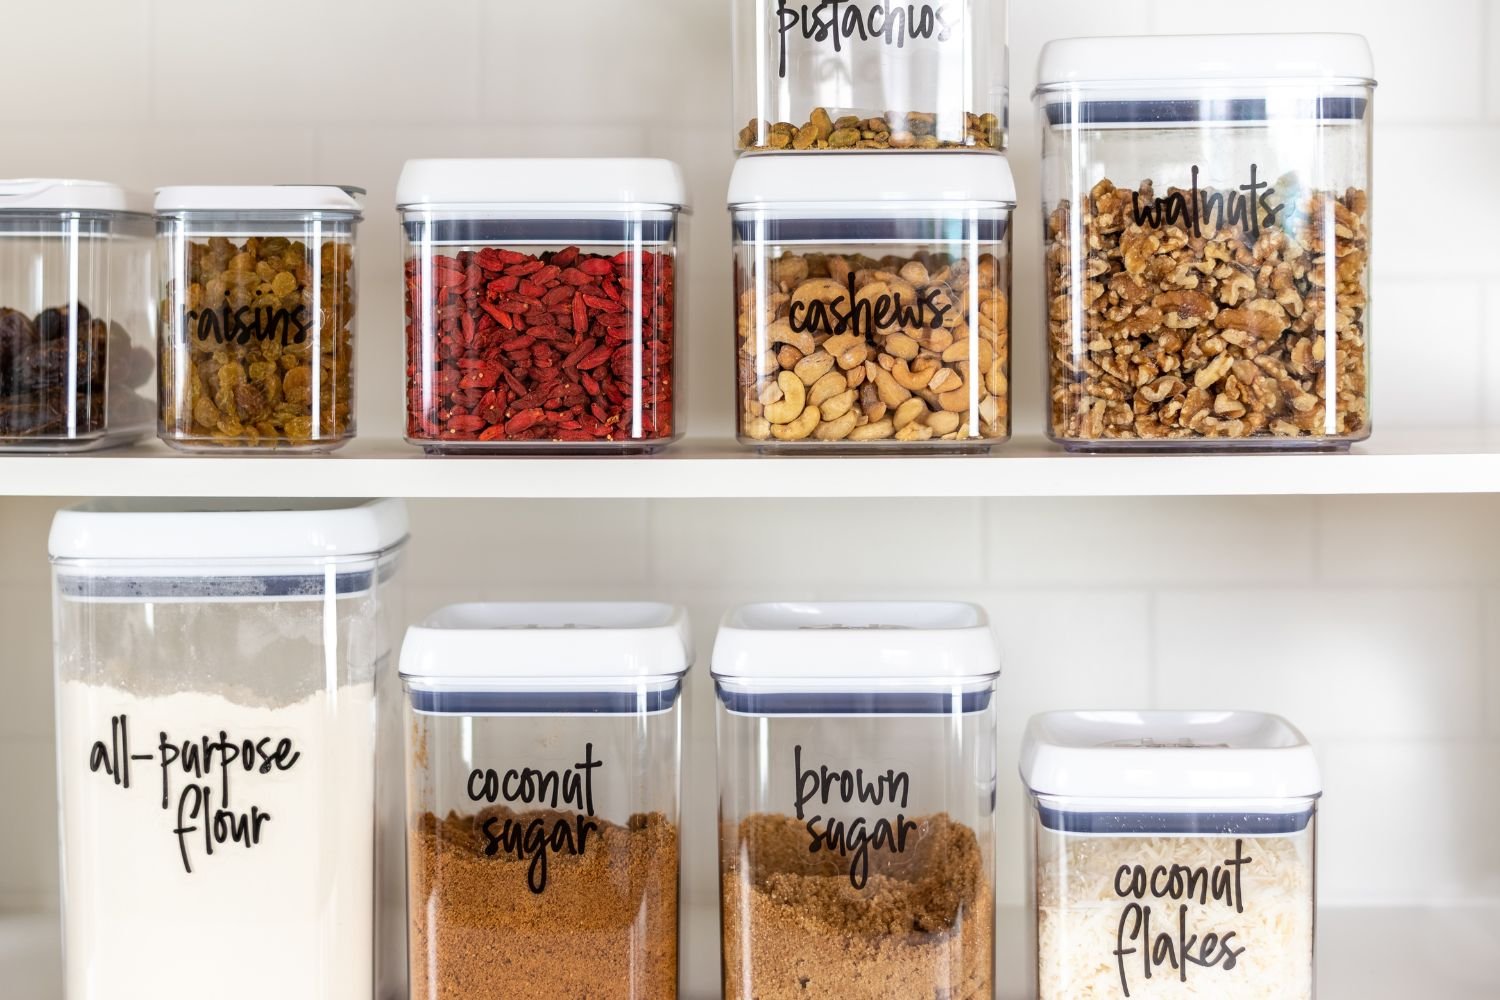
Clear containers are excellent for flour, sugar and dry goods.
Benefits include:
- Easy to see contents at a glance
- Helps ingredients stay fresher for longer
- Reduces torn packets and spills
- Creates a neat, uniform look
Stackable Containers
Choose square or rectangular stackable containers rather than round ones where possible. They make better use of cupboard height and shelf depth.
Label Everything
Labels save time and prevent confusion, especially when ingredients look similar.
Include:
- Ingredient name
- Use-by or expiry date
- Refill date if helpful
A simple label maker, chalk label or handwritten sticker works well.
Small Baskets or Bins
Tiny baking items can quickly create mess if left loose.
Use small baskets or tubs for:
- Sprinkles
- Sachets
- Food colourings
- Piping nozzles
- Cupcake cases
- Candles
Make the Most of Vertical Space
In a small kitchen, height matters just as much as width.
Add Shelf Risers
Shelf risers create an extra level inside cupboards, effectively doubling usable storage space.
They are ideal for:
- Mugs
- Small tins
- Jars
- Mixing bowls
Use Hooks or Rails
Hooks on walls, cupboard sides or under shelves can hold everyday tools neatly.
Useful for:
- Measuring spoons
- Oven gloves
- Whisks
- Utensils
Install Door Storage
The inside of cupboard doors is often wasted space.
Add slim racks or holders for:
- Foil
- Greaseproof paper
- Cling film
- Piping bags
- Recipe notes
Wall-Mounted Racks
Vertical wall storage works brilliantly for flat items.
Use wall racks or holders for:
- Baking trays
- Chopping boards
- Cooling racks
Storing these upright saves valuable shelf space.
Organise Drawers Efficiently
Drawers can either be useful storage zones or chaotic dumping grounds.
Drawer Dividers
Dividers help separate small tools so they stay easy to find.
Use sections for:
- Cutters
- Nozzles
- Spatulas
- Measuring spoons
- Cake testers
Keep Frequently Used Tools Handy
Store your most-used baking tools in the easiest-to-reach drawer. This might include your whisk, spatula, scales and measuring spoons.
Avoid Junk Drawers
Every item should have a purpose and a place. If random objects keep collecting in one drawer, clear it regularly and reset the system.
Store Bakeware Without the Chaos
Large tins and trays can become messy very quickly if stacked badly.
Nest Where Possible
Many bowls, tins and containers can fit inside one another.
This works well for:
- Mixing bowls
- Cake tins
- Storage tubs
File Trays Vertically
Rather than stacking trays flat, store them upright like files using dividers or magazine holders.
Ideal for:
- Baking sheets
- Muffin trays
- Cooling racks
- Chopping boards
Protect Non-Stick Surfaces
If stacking pans or tins, place a cloth, paper towel or pan protector between each one to prevent scratches.
Create a Small Baking Station
Even in a compact kitchen, a mini baking zone can make preparation much smoother.
Dedicate One Shelf or Cupboard
Choose one cupboard, shelf or section for your baking essentials.
Ready-to-Use Zone
Keep your most-used items together, such as:
- Flour
- Sugar
- Mixing bowl
- Kitchen scales
- Measuring spoons
- Favourite spatula
Save Prep Time
Instead of searching around the kitchen, everything you need is already in one place when baking starts.
Keep It Organised Long-Term
The best storage system only works if it is maintained.
Quick Reset After Each Bake
Once you finish baking:
- Wash tools promptly
- Return items to their proper place
- Wipe surfaces
- Refill containers if needed
A five-minute reset prevents bigger mess later.
Monthly Check
Once a month, review your baking area.
- Remove clutter
- Check expiry dates
- Tidy drawers
- Reorganise anything that is no longer working
Replace Empty Items Promptly
Running out of flour halfway through a recipe is frustrating. Keep a note of low-stock items and replace them before your next bake.
Common Small Kitchen Storage Mistakes to Avoid
Avoid these common problems:
- Keeping too many single-use gadgets
- Not labelling containers
- Wasting vertical space
- Overstuffing cupboards
- Ignoring expiry dates
- Buying storage without measuring space first
- Keeping rarely used items in prime spots
Conclusion
Even the smallest kitchen can feel calm, tidy and practical with the right storage system in place. By decluttering regularly, grouping items sensibly, using smart containers and making the most of vertical space, you can create a baking setup that truly works.
A tidy baking area saves time, reduces waste and makes every recipe easier to enjoy. With a few simple changes, small kitchen baking can feel far less cramped and far more fun.
